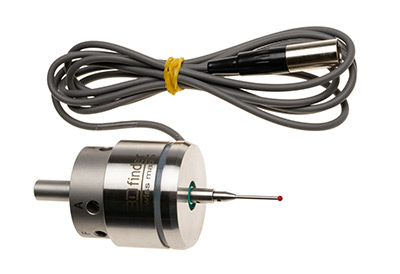
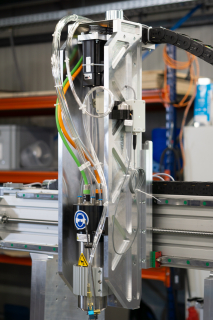
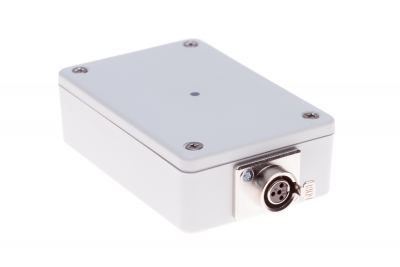
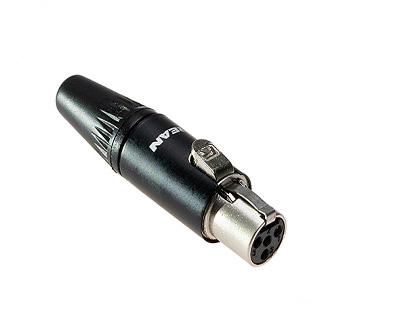
3D-Finder / 3D Measuring sensor
optionally with software routines for EdingCNC
Updates:
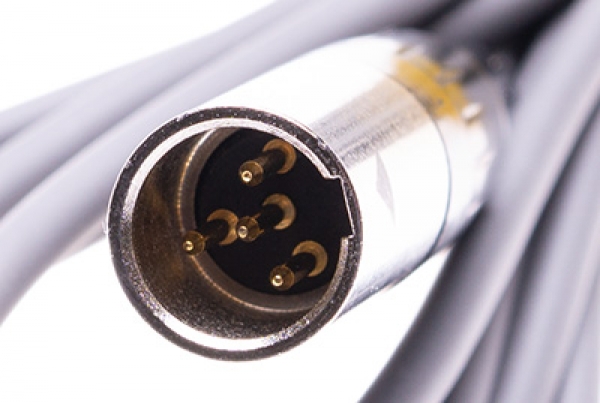
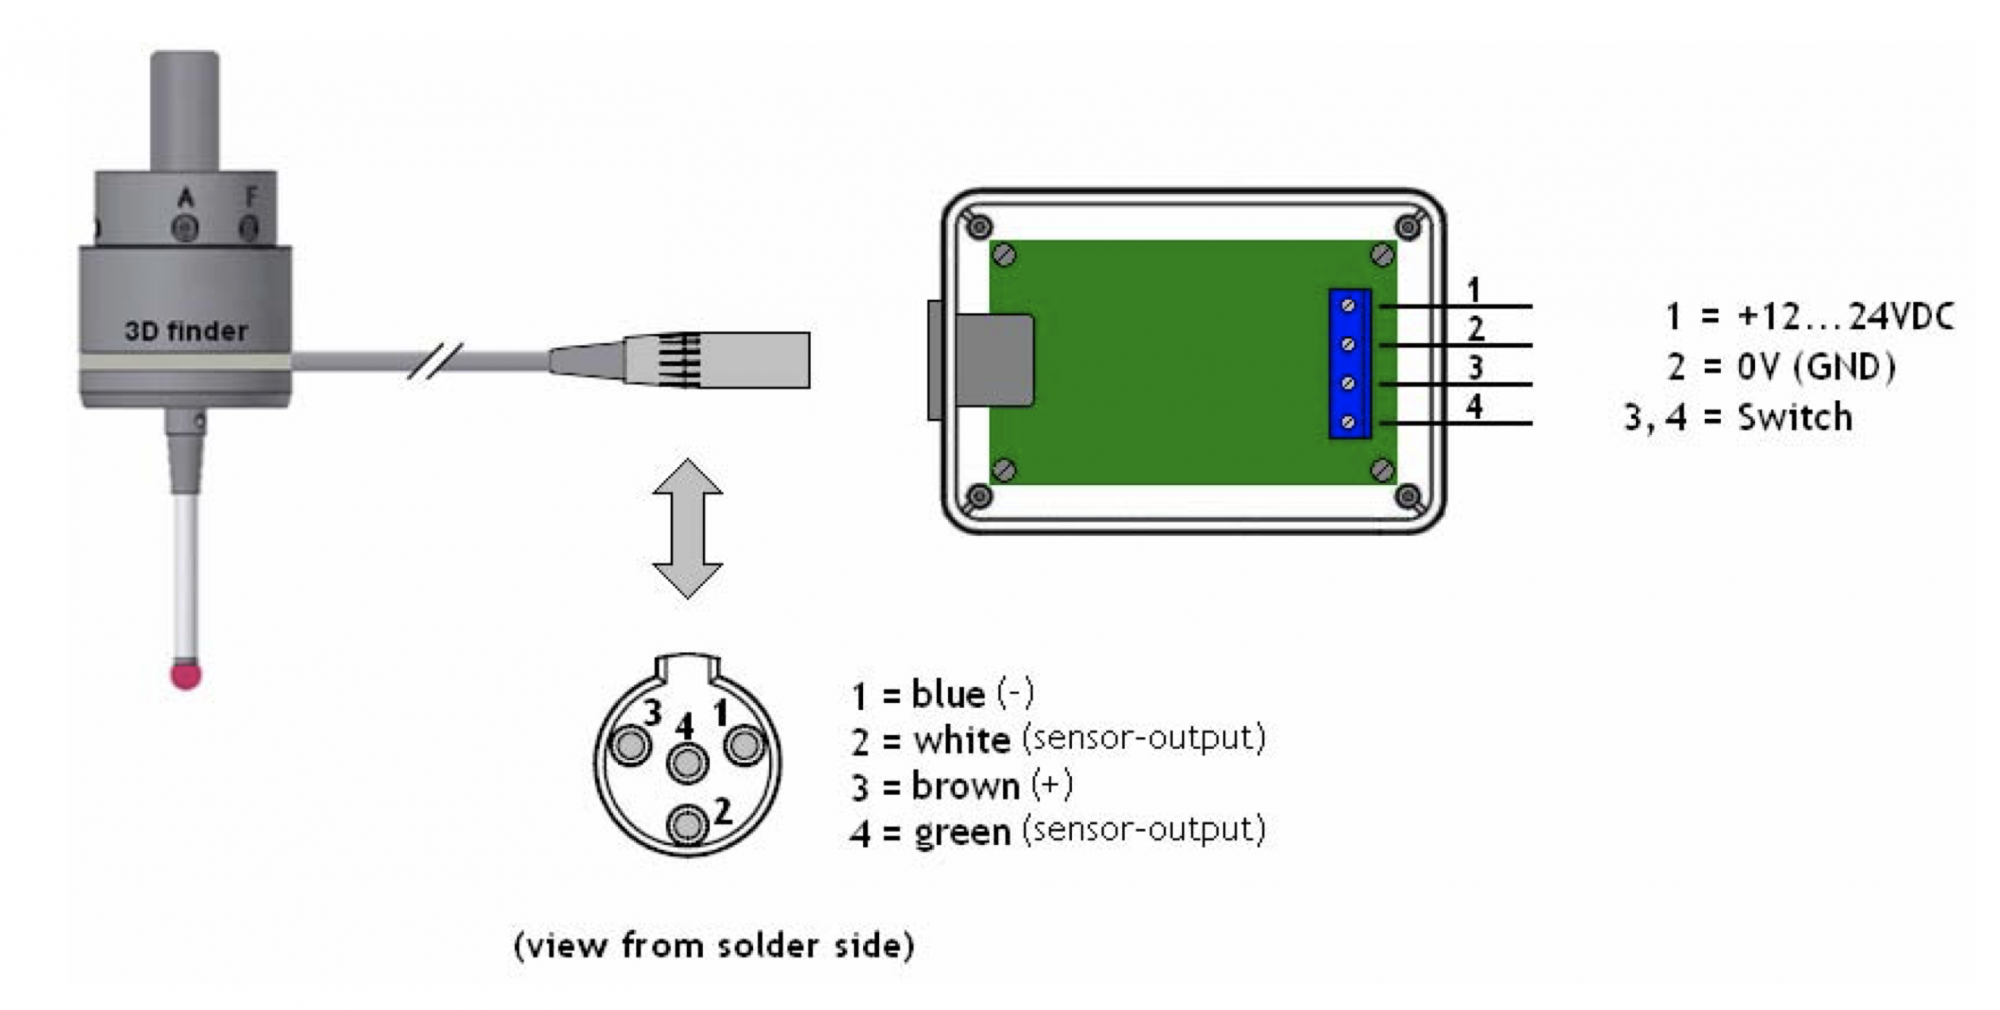
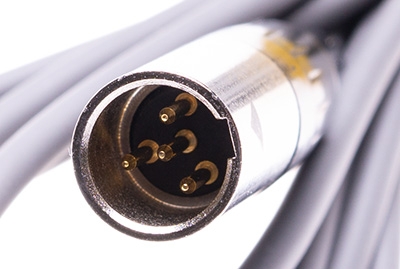
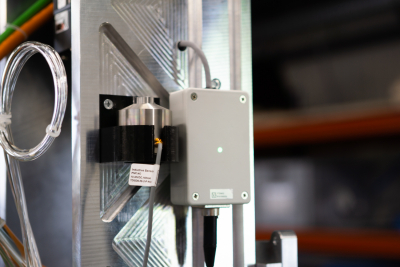
- Due to the huge customer demand, the XLR mini plug is now pre-assembled as standard for immediate use with the "Sensor Hot-Plug Interface".
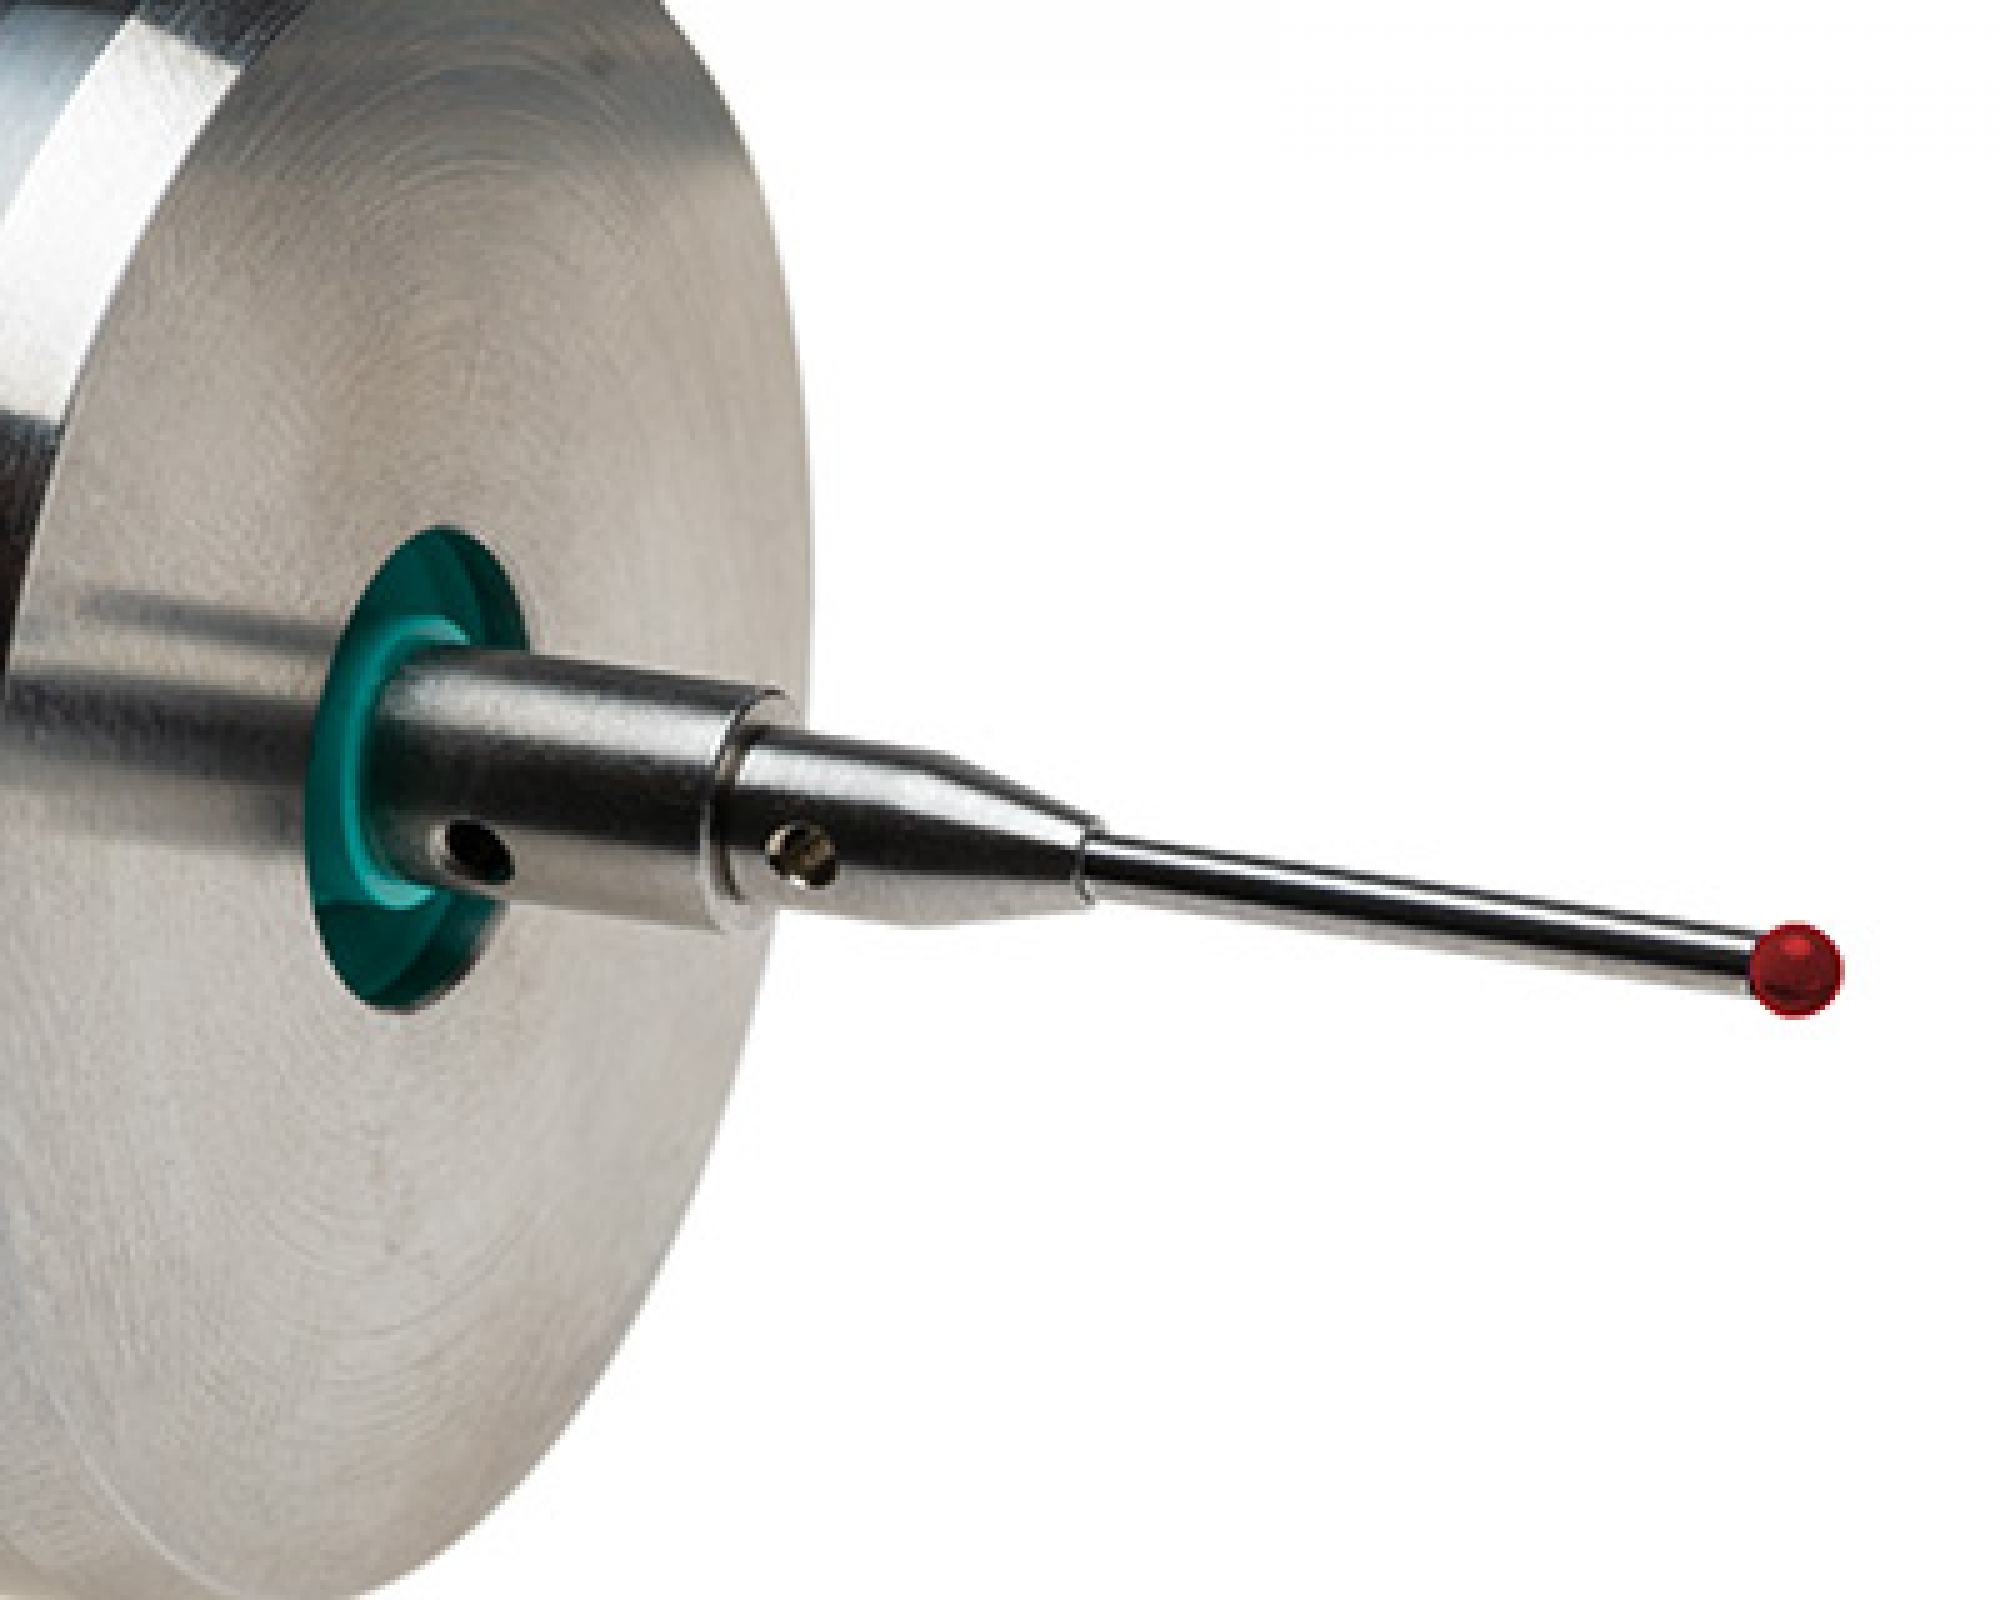
- Changed geometry and material properties of the rubber seal (bellows)
- changed geometry of the switching contacts
- modified M5 screws for fixing the receptacle. The new screws are custom-made with tapered cones. The contact surface of the screw with the tapered surface of the adjusting ring has been adjusted
- New switching electronics with aerospace and military components for use in harsh environments (the new electronics handle any fault situation without destroying the switching IC, up to 50V overvoltage
at the exits !!!)
- Reduction of the current through the switch contacts in the μA range
(even more effective prevents the formation of oxide on switching elements)
- Error flag of the electronics - The electronics switch off automatically if there is any impermissible operating condition (overvoltage, no power supply with connected outputs, etc.)
- The LED display now signals not only the switching contacts but also the electronic function (ie the LED indicator remains off as soon as an inadmissible operating state is present)
- Delayed switch-on function of the electronics during power-on (protection against voltage peaks during power-on)
Last but not least ...
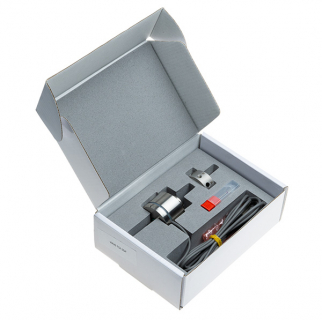
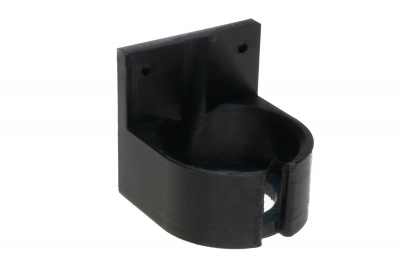
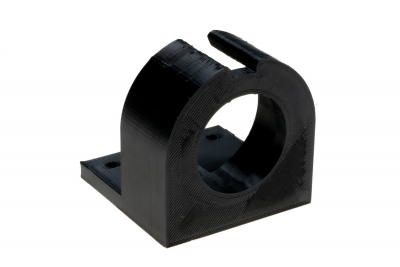
The film-lined box is perfectly suitable for permanent storage. The foam inlay is suiting the sensor with the mount attached.
We recommend a lever gauge to align the 3D sensor.
Description:
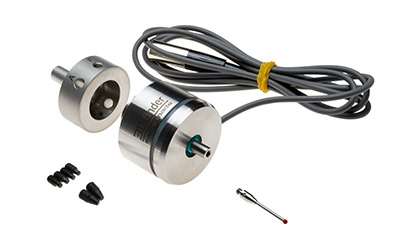
The 3D-finder touch probe is used for measuring workpiece geometries such as edges, holes, grooves, studs, angles and corners. This probe has been developed for high measurement precision and high repeatability.
To achieve a high measurement precision, the touch probe must be mechanically calibrated, so that its axis aligns perfectly with the spindle axis of the machine. Value-priced touch probes targeting the hobby market do not offer the possibility to align the probe axis with the spindle axis.
Without such a calibration capability, measurement results can be very inaccurate and may be unusable even for hobby purposes. Touch probes with alignment capability are the norm in the industrial sector, but they are priced high up in the 4-digit range.
The development of our 3D-finder was focused particularly on achieving an affordable price without sacrificing precision, repeatability and reliability. Furthermore, the 3D-finder is not just a simple switch, but it also includes electronics to ensure a stable and reliable switching behavior.
The precision of a probe is always limited, also by the precision of your machine. For this reason, in addition to the mechanical calibration (alignment to the spindle center), a software calibration should also be carried out so that the inaccuracies of the machine are compensated and taken into account.
Software routines option
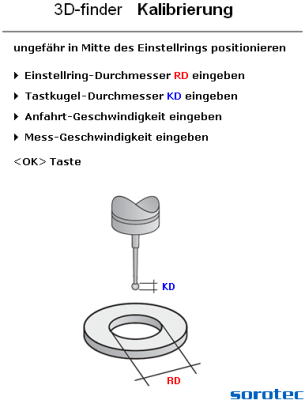
We have already developed the 3D-finder software routines for the Eding-CNC software - they are available in the option selection. The routines are used for software calibration of the probe as well as for workpiece measurement (inner / outer circles, inner / outer measurement of workpiece sizes and workpiece edges). This means that measuring precision down to the small µm range can be achieved.


- Sensing directions: : ±X; ±Y; -Z
- Max. Stylus overtravel: XY = 12°; Z = 5 mm
- Trigger force: : XY = 0,5 ... 1 N; Z = 2.5 N
- Repeatability (unidirectional): 1 μm with 30 mm Stylus and
max. 200 mm/min probing feed rate
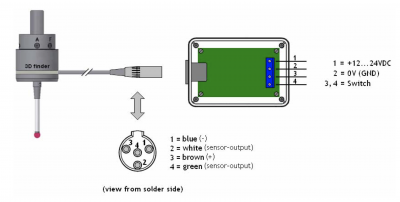
- Output function: electronic high-speed switch as normally closed contact
- Switching current: max. 30 mA
- Functional notification: switching point notification by LED
- Operating voltage: 12 ... 24 V DC
- Cable length: 1,5 Meter (without connector)
- Enclosure: stainless steel
- Tool holder: with alignment function and 8 mm cylindrical shaft
- Stylus: Stylus with 2 mm ball (included)
- Dimensions (without holder): (D) 40 mm, (H) 27 mm
 Hotline: +49 (0)7227 994255-0
![]() E-Mail: web1@sorotec.de
E-Mail: web1@sorotec.de


